
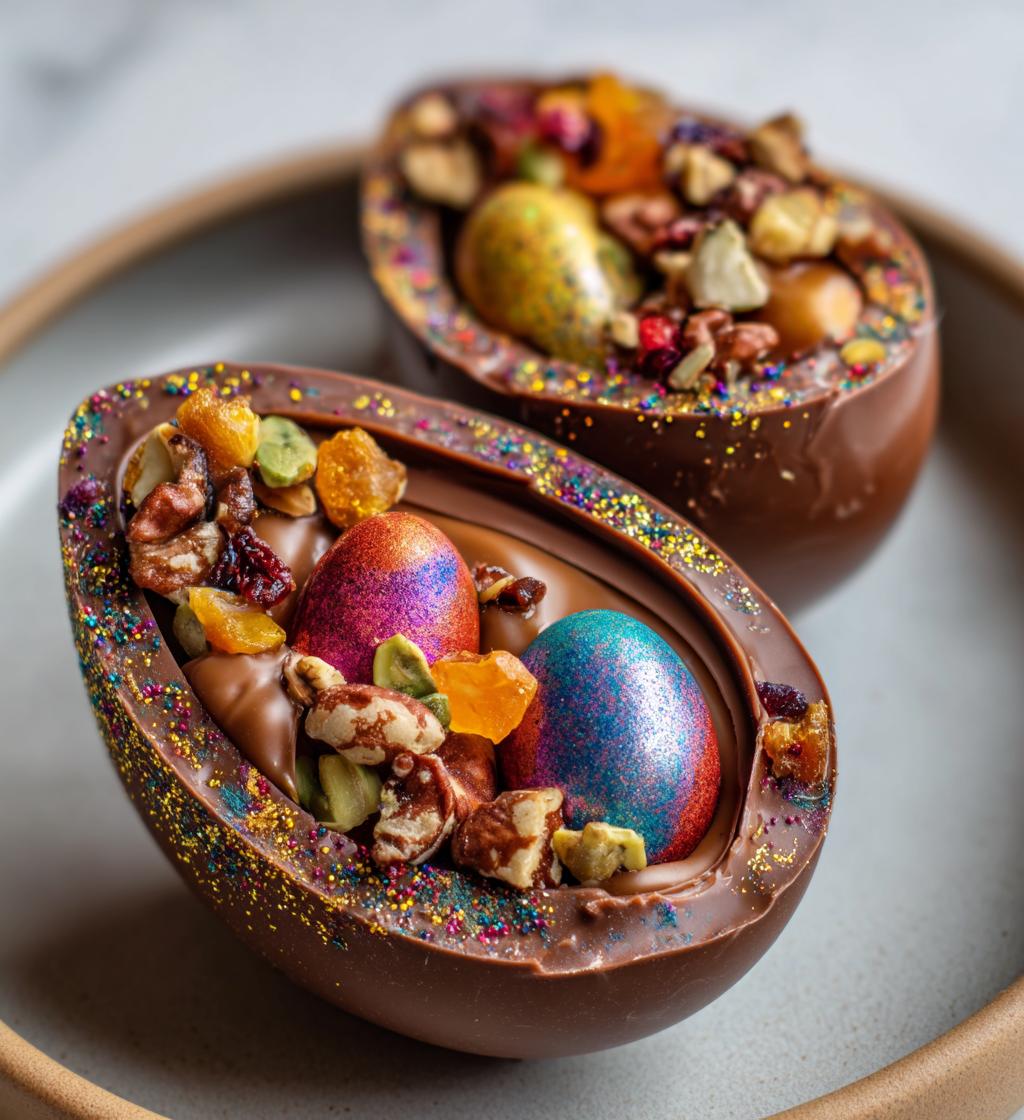
As Easter approaches, excitement fills the air, and what better way to celebrate than with some delightful filled chocolate Easter eggs? These sweet treats are not just a feast for the eyes but also a joy to eat. Imagine ing open a beautifully crafted chocolate shell to reveal a burst of colorful mini candies or a medley of your favorite nuts and dried fruits inside. It’s like a little surprise waiting to be discovered, making them perfect for Easter egg hunts or as creative gifts for loved ones. Trust me, once you start making these filled chocolate Easter eggs, you’ll find yourself dreaming up all sorts of fun ideas for fillings and decorations. Let’s dive into the magic of creating these delicious treats together!
Ingredients List
Here’s what you’ll need to whip up these delightful filled chocolate Easter eggs. Each ingredient plays a crucial role in ensuring your eggs are not only tasty but also visually appealing!
- 500g of chocolate: Choose your favorite type—dark, milk, or white chocolate works beautifully. I recommend using high-quality chocolate for the best flavor and texture. Make sure to chop it into small pieces for easy melting.
- 200g of fillings: This is where the fun begins! You can use mini candies like M&Ms, nuts such as almonds or hazelnuts, or dried fruits like raisins or cranberries. Mix and match to create unique combinations that suit your taste.
- Food coloring (optional): If you want to add a splash of color to your chocolate eggs, grab some food coloring. It’s a fantastic way to personalize your treats for Easter festivities!
- Edible glitter (optional): For a touch of sparkle, consider using edible glitter. It makes your filled chocolate Easter eggs look extra special, perfect for impressing friends and family.
How to Prepare Filled Chocolate Easter Eggs
Now that you have your ingredients ready, let’s dive into the fun part: preparing your filled chocolate Easter eggs! It’s a straightforward process, and I promise it’s going to be as enjoyable as it is delicious. Follow these steps, and you’ll have beautiful chocolate eggs in no time!
Step 1: Melt the Chocolate
First things first, we need to melt that chocolate! You can either use a microwave or a double boiler. If you’re going the microwave route, heat the chocolate in short bursts of about 30 seconds, stirring in between to ensure even melting. Be careful not to overheat it, or you might end up with a grainy mess instead of smooth chocolate. If you prefer the double boiler method, just set a heatproof bowl over a pot of simmering water, making sure the bowl doesn’t touch the water. Stir until melted and silky!
Step 2: Prepare the Egg Molds
Once your chocolate is melted, it’s time to fill those molds! Pour a generous amount of melted chocolate into each egg mold, using a spoon or a spatula to coat the sides thoroughly. Make sure every nook and cranny is covered! You want a nice, thick shell so it can hold all those delicious fillings later on. Don’t be shy—add enough chocolate to ensure a sturdy structure!
Step 3: Chill and Set
After coating the molds, pop them in the fridge to chill. You’ll want to leave them in there for about 15-20 minutes or until the chocolate has completely set. This is the hardest part, waiting for the chocolate to firm up, but trust me, it’s worth it!
Step 4: Remove Chocolate Shells
Once your chocolate has set, it’s time for the exciting moment of removing the shells! Gently flex the molds to loosen the edges, then carefully peel them away. If you notice any resistance, don’t force it; just take your time to avoid breaking the delicate shells. It’s all about that gentle touch!
Step 5: Fill the Chocolate Eggs
Now for the fun part—filling those chocolate eggs! You can get creative here. Whether you choose mini candies, nuts, or dried fruits, pack them in tightly but don’t overfill. Remember, you’ll need to seal them up later, so leave a little room at the top for that delicious chocolate lid!
Step 6: Seal the Eggs
To seal your chocolate eggs, melt the edges of the empty shells just slightly. You can do this by briefly placing the edge of each filled shell against the warm surface of the leftover melted chocolate. Then, gently press the two halves together. Voilà! You’ve got yourself a sealed chocolate egg. Just make sure they’re nicely aligned!
Step 7: Decorate Your Eggs
Last but not least, let’s add some pizzazz! If you want to make your filled chocolate Easter eggs pop, consider using food coloring to paint designs or drizzle melted chocolate on top. And don’t forget the edible glitter for a sparkly finish! It’s all about making them as festive and fun as possible!
Nutritional Information
Let’s talk about the nutrition of these delightful filled chocolate Easter eggs! Each egg is a sweet treat, and while we all love indulging in chocolate during Easter, it’s good to know what we’re enjoying. Here’s a rough estimate of the typical nutritional values per egg:
- Calories: 200
- Fat: 12g
- Protein: 3g
- Carbohydrates: 22g
Keep in mind, these values can vary based on the ingredients you choose, especially the type of chocolate and fillings you incorporate. Enjoy these tasty treats in moderation, and don’t forget—sharing is caring when it comes to chocolate!
Why You’ll Love This Recipe
This filled chocolate Easter eggs recipe is a total game-changer for your holiday celebrations! Here’s why you’ll absolutely adore making these sweet delights:
- Quick Preparation: You can whip these up in just about 45 minutes, making it a perfect last-minute treat or a fun activity to do with the kids. The steps are simple and straightforward, so you won’t find yourself stressed in the kitchen.
- Customizable Fillings: The best part? You get to decide what goes inside! Whether you’re a fan of crunchy nuts, chewy dried fruits, or colorful mini candies, you can mix and match to suit your taste. This flexibility means each egg can be unique and tailored to everyone’s preferences!
- Fun for Everyone: Making filled chocolate Easter eggs is not just about the end result; it’s about the joy of creating! Gather your family or friends, and turn the kitchen into a lively workshop. Kids will love getting involved, from melting the chocolate to choosing fillings and decorating their creations.
- Perfect for Gifting: These eggs make fantastic gifts! Package them up in pretty boxes or bags, and you’ve got a delightful homemade treat to share with friends and family. Trust me, they’ll be impressed and grateful for your sweet gesture!
- A Festive Touch: Nothing says Easter like chocolate eggs, and these are sure to be a hit at any celebration. Their colorful and sparkly decorations will bring joy to your gatherings, making them a centerpiece at your Easter brunch or egg hunt.
So, grab your chocolate and fillings, and let’s dive into the fun of creating these beautiful filled chocolate Easter eggs together! You’ll love every step of the process, and the delicious rewards are just the icing on the cake—er, egg!
Tips for Success
Ready to take your filled chocolate Easter eggs to the next level? I’ve got some pro tips that’ll make your chocolate creations even more amazing. Trust me, these little pointers can make a big difference!
Choose High-Quality Chocolate
First and foremost, don’t skimp on the chocolate! The quality of chocolate you use directly affects the taste and texture of your eggs. I recommend going for high-quality chocolate bars rather than chips, as they melt smoother and have a richer flavor. Look for chocolate with a high cocoa content for that deep, indulgent taste!
Experiment with Fillings
While mini candies and nuts are classic options, don’t be afraid to get creative with your fillings! Try adding a layer of creamy peanut butter or a drizzle of caramel for extra richness. You could even use flavored marshmallows or coconut for a tropical twist. The possibilities are endless, so mix and match till you find your favorite combo!
Make Sure to Chill Properly
When you’re chilling your chocolate molds, patience is key. Ensure the chocolate is completely set before you start filling them. If the chocolate is even slightly soft, your eggs might not hold their shape. Give them that full 15-20 minutes in the fridge—your future self will thank you!
Seal with Care
When sealing your chocolate eggs, make sure to melt the edges just enough to create a nice, even bond without overdoing it. If you find any gaps, a little dab of melted chocolate can help patch them up. This will ensure your eggs stay intact and look beautiful!
Decorate with Fun
Let your creativity shine when it comes to decorating! Use various colors of food coloring to create unique designs or patterns. You can also try drizzling contrasting chocolate on top for a fun effect. And don’t forget the edible glitter—it adds that magical touch that’s perfect for Easter!
Practice Makes Perfect
Finally, don’t worry if your first batch isn’t perfect. Making filled chocolate Easter eggs is about having fun and enjoying the process. Each attempt will teach you something new, so embrace the quirks and celebrate your unique creations!
With these tips in hand, you’re all set to create stunning filled chocolate Easter eggs that will wow your family and friends. Get ready for some delicious fun in the kitchen!
Storage & Reheating Instructions
Now that you’ve made these scrumptious filled chocolate Easter eggs, you’ll want to know how to keep them fresh and tasty! Proper storage is key to ensuring that your chocolate treats stay delicious for as long as possible.
First, it’s best to store your filled chocolate eggs in a cool, dry place. If you live in a warm climate, I recommend keeping them in the refrigerator to prevent them from melting or losing their shape. Just make sure they’re in an airtight container to protect them from moisture and any odors from the fridge. Trust me, no one wants chocolate that smells like last week’s leftovers!
For shorter-term storage, your filled chocolate eggs can last about a week at room temperature. If you want to keep them for longer—like up to two weeks—definitely opt for the fridge. Just remember to take them out about 15-20 minutes before you plan to enjoy them. This allows the chocolate to soften slightly and return to that delightful melt-in-your-mouth texture.
As for reheating, there’s really no need for that! These filled chocolate eggs are best enjoyed as they are—fresh and ready to eat. If you’ve stored them in the fridge, just let them come to room temperature before diving in. This way, you’ll experience all the lovely flavors and textures you worked so hard to create!
So, there you have it! With proper storage, your filled chocolate Easter eggs will remain a delightful treat, ready to be enjoyed whenever the craving strikes. Happy indulging!
FAQ Section
Got questions about filled chocolate Easter eggs? No worries! I’ve rounded up some common queries to help you create the best chocolate treats this Easter!
What type of chocolate is best for filling Easter eggs?
When it comes to making filled chocolate Easter eggs, I highly recommend using high-quality chocolate bars instead of chips. Chocolate bars melt smoother and taste richer, making your eggs extra delicious. You can choose dark, milk, or white chocolate based on your preference—each type adds its unique flavor!
Can I use different fillings besides mini candies?
Absolutely! While mini candies are a fun go-to, the sky’s the limit when it comes to fillings. You can experiment with nuts, dried fruits, flavored creams, or even cookie crumbles. Think about what you love! The best part is that you can mix and match to create your own signature combinations!
How long do filled chocolate Easter eggs last?
If stored properly, filled chocolate Easter eggs can last about a week at room temperature. However, if you want to keep them fresh for longer, store them in the fridge, and they can last up to two weeks! Just make sure they’re in an airtight container to avoid any moisture or fridge odors.
Can I make filled chocolate Easter eggs ahead of time?
Definitely! Making filled chocolate Easter eggs ahead of time is a great idea. You can prepare them a few days in advance and store them in the fridge until you’re ready to enjoy them. This way, you can take your time decorating and filling them without the last-minute rush!
What’s the best way to decorate my filled chocolate eggs?
Let your creativity shine when it comes to decoration! You can use food coloring to paint designs, drizzle melted chocolate on top, or sprinkle edible glitter for that festive sparkle. Have fun with it! The more personal touches you add, the more special they’ll be!
Print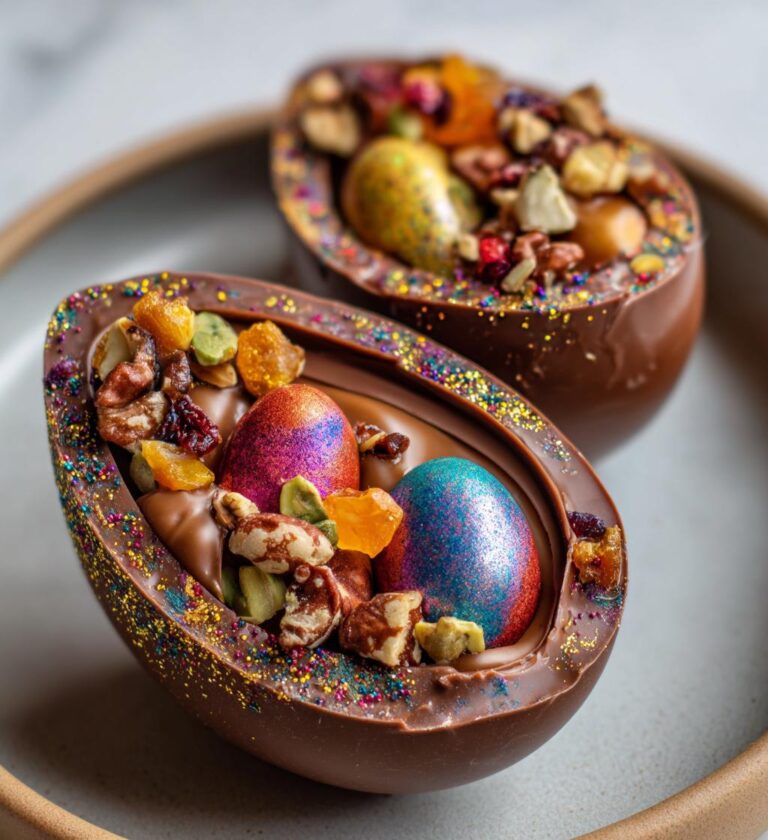
filled chocolate easter eggs ideas that will amaze everyone
Creative ideas for filled chocolate Easter eggs.
- Total Time: 45 minutes
- Yield: 10 filled eggs
Ingredients
- Chocolate (dark, milk, or white) – 500g
- Fillings (e.g., mini candies, nuts, dried fruits) – 200g
- Food coloring (optional) – as needed
- Edible glitter (optional) – as needed
Instructions
- Melt the chocolate in a microwave or double boiler.
- Pour melted chocolate into egg molds, covering the sides.
- Chill the molds in the fridge until set.
- Carefully remove the chocolate shells from the molds.
- Fill each shell with your choice of fillings.
- Seal the eggs by melting edges and pressing together.
- Decorate with food coloring and edible glitter if desired.
Notes
- Use high-quality chocolate for best results.
- Experiment with different fillings for variety.
- Store filled eggs in a cool place.
- Prep Time: 30 minutes
- Cook Time: 15 minutes
- Category: Dessert
- Method: Chilling and molding
- Cuisine: International
- Diet: Vegetarian
Nutrition
- Serving Size: 1 egg
- Calories: 200
- Sugar: 15g
- Sodium: 10mg
- Fat: 12g
- Saturated Fat: 7g
- Unsaturated Fat: 3g
- Trans Fat: 0g
- Carbohydrates: 22g
- Fiber: 1g
- Protein: 3g
- Cholesterol: 5mg
Keywords: filled chocolate Easter eggs ideas, chocolate recipes, Easter treats