
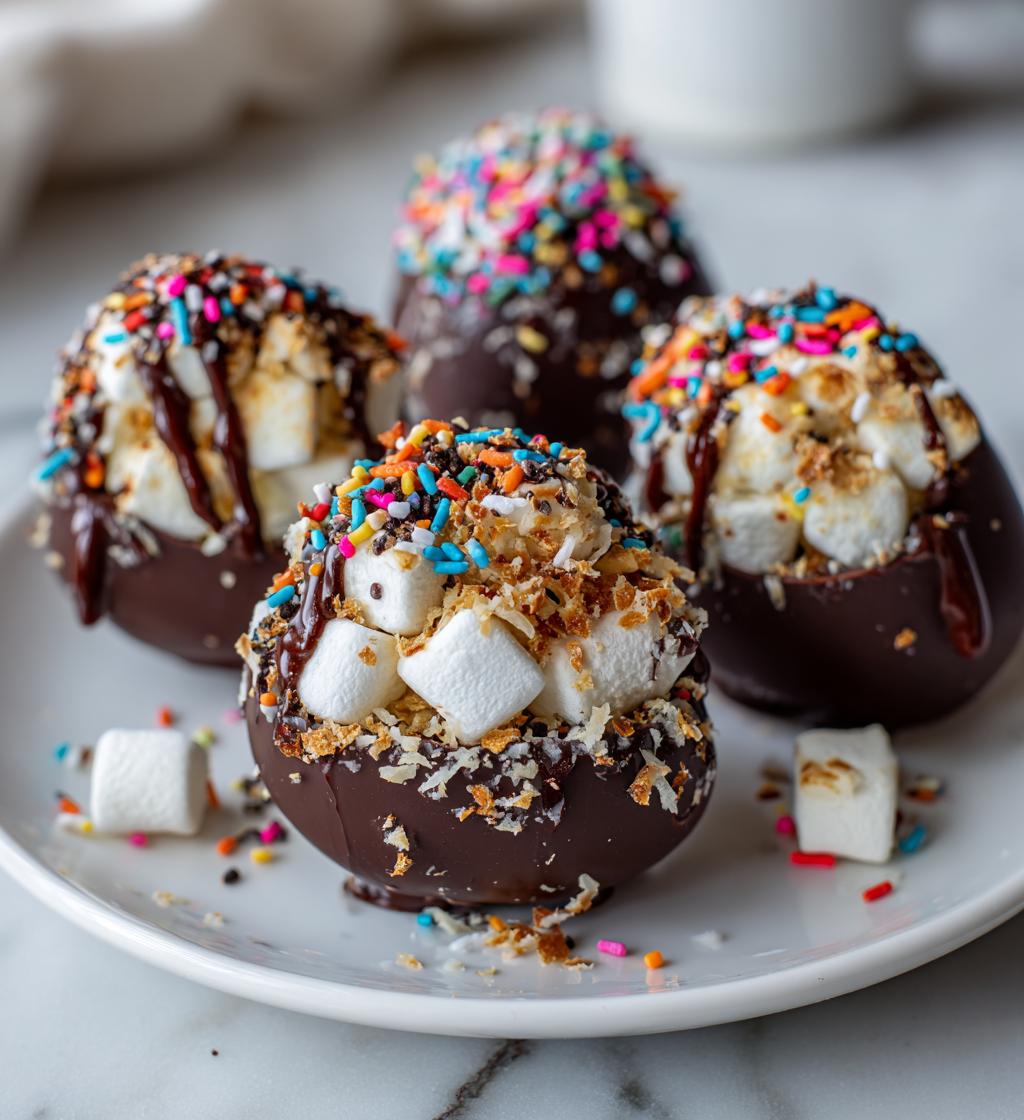
There’s something incredibly joyful about creating homemade treats, especially when it comes to the delightful world of DIY chocolate Easter eggs! Trust me, the excitement of crafting your own chocolate creations makes the holiday even more special. Making your own Easter eggs not only lets you customize flavors and fillings to your preference, but it also adds a personal touch that store-bought varieties simply can’t match. Imagine the smiles on your family’s faces when they bite into a rich chocolate shell filled with gooey marshmallows and a sprinkle of coconut! Plus, it’s a fantastic activity to share with kids or friends, turning your kitchen into a fun, creative space. So, grab your ingredients and let’s dive into this delicious adventure of learning how to make DIY chocolate Easter eggs that everyone will love. You won’t regret it!
Ingredients List
- 200g dark chocolate: This will form the outer shell of your Easter eggs, giving them that rich, indulgent flavor.
- 100g milk chocolate: Used to seal the eggs, adding a creamy sweetness that balances the dark chocolate.
- 1 cup mini marshmallows: These little puffs of fluff create a delightful surprise inside each egg!
- 1/2 cup shredded coconut: This adds a wonderful texture and a tropical twist to your Easter eggs.
- Food coloring (optional): Use this if you want to jazz up the decorations and make your eggs extra festive!
How to Prepare DIY Easter Eggs Chocolate
Step 1: Melt the Chocolate
Alright, let’s start with melting that chocolate! You have two options here: the microwave or a double boiler. If you’re going the microwave route, chop your dark chocolate into small pieces and pop it in a microwave-safe bowl. Microwave it in 30-second bursts, stirring in between until it’s smooth and shiny. This usually takes about 1 to 2 minutes total. Just be careful not to overheat it, or you’ll end up with a sad, burnt mess!
If you prefer the double boiler method, fill a pot with a couple of inches of water and bring it to a simmer. Place a heatproof bowl on top (make sure it doesn’t touch the water), add your chocolate, and stir until melted. This method is great because it keeps the chocolate from overheating!
Step 2: Coat the Molds
Now, let’s coat those molds! Using a spoon or a pastry brush, carefully coat the inside of your egg molds with the melted dark chocolate. Make sure to cover every nook and cranny, but try to keep it even – we don’t want any thin spots! A nice, thick layer will give your eggs that perfect crunch. If you have extra chocolate, feel free to do a second layer for a sturdier shell!
Step 3: Chill the Molds
Once your molds are coated, it’s time for a chill session! Place them in the fridge for about 30 minutes, or until the chocolate has set completely. This step is crucial because a proper set will give your eggs that satisfying snap when you bite into them. Don’t rush it; patience is key here!
Step 4: Fill the Eggs
With your chocolate shells ready, let’s fill them! Remove the molds from the fridge and carefully spoon in a mix of mini marshmallows and shredded coconut. Make sure to distribute them evenly for that perfect surprise in every bite! You can get creative here – layer them or mix them up for a fun texture!
Step 5: Seal the Eggs
Now, we need to seal those eggs up! Melt the milk chocolate using the same method you used for the dark chocolate. Once it’s nice and smooth, carefully spoon it over the filled molds, covering the openings completely. This is where you ensure everything stays inside, so make sure the seal is solid!
Step 6: Final Chill
After sealing, it’s time for another chill! Pop the molds back into the fridge for another 30 minutes. This final chill helps everything set perfectly, ensuring your eggs hold their shape when you take them out. Trust me, you don’t want any chocolate surprises here!
Step 7: Remove from Molds
Once your eggs are set, gently remove them from the molds. I recommend doing this slowly and carefully to avoid any s. If they’re a bit stubborn, you can give the molds a little squeeze to loosen them up. Just be gentle – we want perfect little chocolate eggs!
Step 8: Decorate
Now comes the fun part – decorating! If you want to jazz up your eggs, use food coloring to paint them or create fun designs. You can use a small brush for detailed work or simply dip the eggs in colored chocolate. Get creative! Add sprinkles or edible glitter for extra pizzazz!
Nutritional Information
When you indulge in one of these delightful DIY chocolate Easter eggs, you’re looking at about 150 calories per egg. Each serving packs in 12g of sugar, giving you that sweet kick, alongside 9g of fat, with 5g being saturated fat. You’ll also find 2g of protein and 15g of carbohydrates, making for a tasty treat that’s perfect for special occasions. Just keep in mind that these values are estimates based on standard ingredients, so if you tweak the recipe, the nutrition might change a bit. Enjoy responsibly and savor every bite!
Tips for Success
To make sure your DIY chocolate Easter eggs turn out perfectly, there are a few handy tips I swear by! First off, when it comes to chocolate, always choose high-quality chocolate bars rather than chips. Chocolate bars melt smoother and taste richer, making your eggs even more delicious. Oh, and don’t forget to temper your chocolate if you want that glossy finish – it’s worth the extra effort!
Storage is key, too. Keep your eggs in a cool, dry place to prevent them from melting or becoming too soft. If you need to store them longer, the fridge is a great option, but let them come to room temperature before serving for the best flavor and texture. Also, watch out for the temperature when melting chocolate; overheating can cause it to seize up. So, take it low and slow, and you’ll be golden!
Variations
The beauty of DIY chocolate Easter eggs is that you can really let your imagination run wild! Why not switch up the chocolate types? Instead of dark and milk chocolate, try using white chocolate for a sweeter, creamier egg. You could even mix and match – like a half dark, half milk chocolate shell for a fun twist!
As for fillings, the sky’s the limit! Instead of the classic mini marshmallows and shredded coconut, how about a peanut butter or Nutella filling for those who crave a bit of indulgence? You could also throw in some crushed cookies or colorful candy pieces for a delightful crunch. Dried fruit like cranberries or apricots can add a nice contrast, too!
Feeling adventurous? Experiment with flavorings like orange zest or peppermint extract in the chocolate for a refreshing surprise. Your creativity will make these DIY Easter eggs truly unforgettable!
Storage & Reheating Instructions
To keep your delicious DIY chocolate Easter eggs fresh, store them in an airtight container in a cool, dry place. If you live in a warmer climate, the fridge is your best bet to prevent melting. Just remember to let them sit at room temperature for about 10-15 minutes before serving; this will enhance the flavor and texture!
As for reheating, there’s really no need for that with these treats! If you find yourself with leftovers, they should stay tasty for up to a week. Just avoid microwaving them, as that could ruin their lovely chocolate shell. Enjoy your sweet creations while they last!
Why You’ll Love This Recipe
- Quick and Easy: With just 15 minutes of prep and a little chilling time, you can whip up these delightful treats in no time!
- Deliciously Customizable: You can tailor the flavors and fillings to your family’s favorites, making each egg a unique surprise.
- Fun for Everyone: This is a fantastic activity to do with kids or friends, turning your kitchen into a joyful, creative space.
- Perfect for Celebrations: These DIY chocolate Easter eggs are a wonderful addition to any holiday celebration or special occasion!
- Impressive Presentation: Your homemade creations will look gorgeous on any dessert table, making you the star of the show!
FAQ Section
Q1: Can I use different chocolates for this recipe?
Absolutely! Feel free to mix it up with any chocolate you love. White chocolate, milk chocolate, or even flavored chocolates can add a fun twist to your Easter eggs. Just remember, the melting process may vary slightly depending on the type of chocolate you choose.
Q2: What can I use instead of mini marshmallows?
If marshmallows aren’t your thing, you can substitute them with other fillings like peanut butter, caramel, or even chocolate ganache. Just make sure they’re thick enough to hold their shape inside the egg!
Q3: How do I store my DIY Easter eggs?
Keep your eggs in an airtight container to maintain freshness. A cool, dry place is best, but if it’s warm, the fridge works too. Just let them sit at room temperature for a bit before enjoying them for the ultimate flavor experience!
Q4: Can I make these eggs ahead of time?
Definitely! These chocolate Easter eggs can be made a few days in advance. Just store them properly, and they’ll be ready to impress when you need them!
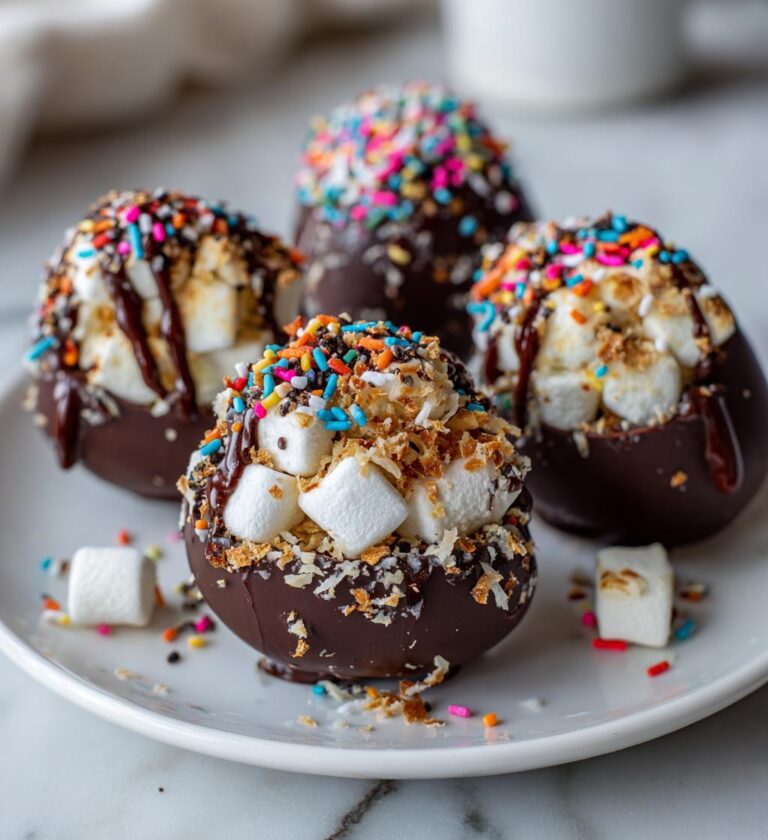
DIY Easter Eggs Chocolate: 5 Steps to Joyful Creations
Learn how to make delicious DIY chocolate Easter eggs.
- Total Time: 1 hour 15 minutes
- Yield: 10 eggs 1x
Ingredients
- 200g dark chocolate
- 100g milk chocolate
- 1 cup mini marshmallows
- 1/2 cup shredded coconut
- Food coloring (optional)
Instructions
- Melt dark chocolate in a microwave or double boiler.
- Coat the inside of egg molds with melted dark chocolate.
- Chill molds until set, about 30 minutes.
- Fill each egg with mini marshmallows and shredded coconut.
- Seal the eggs with melted milk chocolate.
- Let set in the fridge for another 30 minutes.
- Carefully remove eggs from molds.
- Decorate with food coloring if desired.
Notes
- Use different types of chocolate for variety.
- Store eggs in a cool place.
- Prep Time: 15 minutes
- Cook Time: 1 hour
- Category: Dessert
- Method: Chilling and melting
- Cuisine: American
- Diet: Vegetarian
Nutrition
- Serving Size: 1 egg
- Calories: 150
- Sugar: 12g
- Sodium: 5mg
- Fat: 9g
- Saturated Fat: 5g
- Unsaturated Fat: 2g
- Trans Fat: 0g
- Carbohydrates: 15g
- Fiber: 1g
- Protein: 2g
- Cholesterol: 5mg
Keywords: diy easter eggs chocolate how to make