
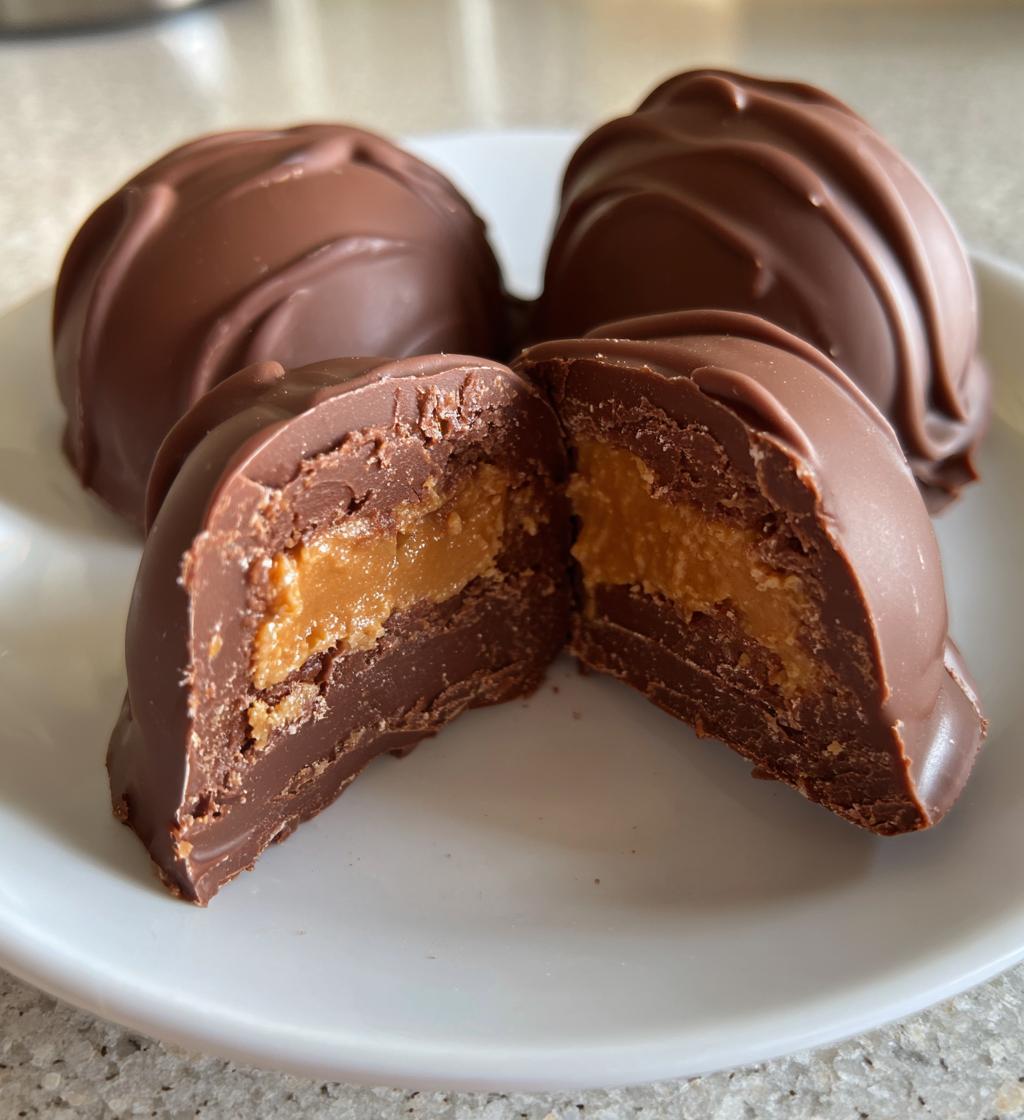
Easter has always been one of my favorite times of the year, bursting with vibrant colors, joyful gatherings, and of course, sweet treats! I can still remember the excitement of waking up on Easter morning to find a basket filled with chocolate goodies, especially those delectable chocolate peanut butter eggs. The moment I tasted that creamy peanut butter wrapped in rich chocolate, I was hooked! Making my own chocolate peanut butter Easter eggs at home has become a cherished tradition for me. It’s such a joy to whip up these delightful little bites and share them with family and friends. Plus, there’s something incredibly satisfying about crafting your own candy, isn’t there? You get to control the ingredients and make them just how you love them! Trust me, once you start making these, you’ll never want to go back to store-bought again!
Ingredients for Chocolate Peanut Butter Easter Eggs
- 1 cup creamy peanut butter
- 1/4 cup powdered sugar
- 2 cups milk chocolate chips
- 1 tablespoon coconut oil
How to Prepare Chocolate Peanut Butter Easter Eggs
Now, let’s dive into the fun part—making these delicious chocolate peanut butter Easter eggs! It’s super simple, and I promise you’ll love how easy it is to whip them up.
Step-by-Step Instructions
- Mix the Peanut Butter and Sugar: In a medium bowl, combine 1 cup of creamy peanut butter with 1/4 cup of powdered sugar. Use a spatula or wooden spoon to mix until it’s perfectly smooth. This step is crucial, so take your time to make sure there are no lumps!
- Shape the Eggs: Once your mixture is nice and smooth, it’s time to get your hands a little messy! Shape the mixture into egg shapes—about the size of a golf ball. I like to keep a small bowl of water nearby to wet my hands; it helps prevent the mixture from sticking. Place your shaped eggs on a baking sheet lined with parchment paper.
- Freeze the Eggs: Pop the baking sheet into the freezer for about 30 minutes. This step is super important because it helps the eggs hold their shape when you dip them in chocolate.
- Melt the Chocolate: While the eggs are freezing, melt 2 cups of milk chocolate chips with 1 tablespoon of coconut oil. You can do this in a microwave-safe bowl in the microwave, heating in 30-second intervals and stirring in between. Be careful not to overheat it! The mixture should be smooth and glossy.
- Dip the Eggs: Now comes the fun part! Take each frozen peanut butter egg and dip it into the melted chocolate mixture. Make sure to coat it well, then let any excess chocolate drip off. Place the dipped eggs back onto the parchment-lined baking sheet.
- Chill to Set: Finally, refrigerate the eggs until the chocolate has completely hardened. This should take about 15-20 minutes, depending on your fridge. Just try not to sneak any bites until they’re ready!
And there you have it! These steps are designed to ensure a smooth process, so don’t rush. Enjoy the process of making these little Easter delights!
Why You’ll Love This Recipe
- Quick Preparation: You can whip these up in just 15 minutes of prep time! Perfect for last-minute Easter treats.
- Delicious Flavor: The rich combination of creamy peanut butter and smooth chocolate is simply irresistible. Trust me, your taste buds will thank you!
- No-Bake Method: No ovens needed! Just a freezer and a fridge, which means less mess and more time enjoying your treats.
- Vegetarian-Friendly: This recipe is a delightful option for vegetarians, making it a great addition to your Easter festivities.
- Customizable: You can easily tweak the flavors by using dark chocolate or adding a sprinkle of sea salt for that sweet and salty contrast!
Tips for Success with Chocolate Peanut Butter Easter Eggs
To make sure your chocolate peanut butter Easter eggs turn out perfectly, here are some of my favorite tips that I swear by!
Get the Right Temperature for Melting Chocolate
When melting your chocolate, keep an eye on the temperature! Chocolate can be a bit finicky. If you overheat it, you might end up with a grainy mess. I like to use the microwave in 30-second bursts, stirring in between until it’s just melted. If you have a double boiler, that’s a great alternative too!
Make Shaping Eggs a Breeze
Shaping the eggs can be a bit sticky, so remember to wet your hands with a little water. This not only prevents the mixture from sticking but also helps you mold them into those cute egg shapes. If you find the mixture is too soft, don’t hesitate to pop it back in the fridge for a few minutes before shaping.
Freezing is Key
Don’t skip the freezing step! It’s crucial for keeping those eggs firm while you dip them in chocolate. If they’re a bit too soft, they might lose their shape. So, give them that full 30 minutes in the freezer for best results. Patience is your friend here!
Don’t Rush the Cooling Process
After dipping, let the chocolate-coated eggs chill in the fridge for at least 15-20 minutes. I know the temptation to sneak a bite is real, but waiting ensures that the chocolate sets nicely and you get that perfect snap when you bite in!
Experiment and Have Fun!
Feel free to experiment with different types of chocolate or fillings! Dark chocolate is a great option for a richer taste, and adding a sprinkle of sea salt on top of the melted chocolate can create an amazing sweet-and-salty combo. Enjoy the process and make these eggs your own!
Variations of Chocolate Peanut Butter Easter Eggs Recipe
One of the best things about making chocolate peanut butter Easter eggs at home is the endless possibilities for variations! Get ready to unleash your creativity in the kitchen with these fun ideas:
Switch Up the Chocolate
While milk chocolate is a classic choice, why not try using dark chocolate for a richer, more intense flavor? It pairs beautifully with the sweetness of the peanut butter and gives a gourmet touch to your Easter treats. If you’re feeling adventurous, even white chocolate can work wonders—just be mindful of the sweetness!
Add a Touch of Sea Salt
For that perfect sweet-and-salty balance, sprinkle a little sea salt on top of the chocolate-coated eggs right after dipping them. It elevates the flavor and adds a delightful crunch that will have everyone reaching for more!
Get Creative with Fillings
Why stop at peanut butter? Mix things up by adding different fillings inside your eggs. You could incorporate crushed graham ers for a s’mores twist, or even try adding a layer of jelly or jam for a fruity surprise. My personal favorite is a layer of Nutella for that extra chocolatey goodness!
Experiment with Mix-Ins
Feel free to jazz up the peanut butter filling! Toss in some mini chocolate chips, chopped nuts, or even shredded coconut for added texture. These little surprises will take your eggs to the next level and make each bite even more exciting.
Make Them Mini!
If you’re looking for bite-sized treats, try shaping smaller versions of the eggs. Mini chocolate peanut butter eggs are perfect for sharing, and they’re just as delightful to eat! Plus, you can get creative with their presentation—arrange them in a cute basket for a festive touch!
So, go ahead and mix and match these variations to create your perfect chocolate peanut butter Easter eggs. The sky’s the limit, and I can’t wait to hear what combinations you come up with!
Storage & Reheating Instructions
Once you’ve made these delightful chocolate peanut butter Easter eggs, you’ll want to keep them fresh and ready for indulging! Here’s how to store and enjoy them later:
Storing Your Easter Eggs: Place your chocolate peanut butter eggs in an airtight container. This is key to keeping them fresh and preventing any unwanted flavors from sneaking in. If you’ve made a big batch (trust me, you might!), you can layer them with parchment paper between each layer to avoid sticking.
Refrigerate for Freshness: These eggs store best in the refrigerator, where they can last for up to two weeks. If you’re anything like me, they won’t last that long, but it’s good to know they’ll be safe and delicious if you can resist them for a bit!
Freezing for Later: If you want to make them ahead of time, feel free to freeze the chocolate peanut butter eggs! Just pop them into a freezer-safe container and they’ll keep well for about 2-3 months. When you’re ready to enjoy them, let them thaw in the fridge for a few hours before diving in.
These little treats are perfect for satisfying that sweet craving anytime, so don’t hesitate to whip them out for a special occasion or a cozy night in. Enjoy every single bite!
Nutritional Information Disclaimer
While I’ve shared some nutritional information for these delicious chocolate peanut butter Easter eggs, it’s important to remember that these values can vary based on the specific ingredients and brands you choose. The calories, sugars, and other nutrients may differ depending on factors like the type of chocolate or peanut butter used. For the most accurate nutritional details, I recommend checking the labels of your specific products. Always feel free to adjust the recipe to fit your dietary needs and preferences!
FAQ about Chocolate Peanut Butter Easter Eggs Recipe
Q1. Can I use natural peanut butter for this recipe?
Absolutely! You can use natural peanut butter, but just keep in mind that it may require a bit more powdered sugar to achieve the right sweetness and consistency. Natural peanut butter can be a little runnier, so make sure it’s well mixed.
Q2. How long do these chocolate peanut butter Easter eggs last?
If stored properly in an airtight container in the fridge, these little delights can last for up to two weeks! But let’s be honest, they’re likely to disappear much sooner than that!
Q3. Can I make these eggs ahead of time for Easter?
Definitely! These chocolate peanut butter Easter eggs are perfect for making ahead of time. You can freeze them for about 2-3 months, then just thaw them in the fridge before serving. They’ll taste just as delicious!
Q4. What if I don’t have coconut oil?
No worries! If you don’t have coconut oil on hand, you can simply use vegetable oil or even shortening to help the chocolate melt smoothly. Just remember that the flavor might change a bit, but they’ll still be scrumptious!
Q5. Can I add other flavors to the filling?
Absolutely! Feel free to get creative with the filling! You could mix in some crushed cookies, chocolate chips, or even a splash of vanilla extract to amp up the flavor. The possibilities are endless, and it’s all about making them your own!
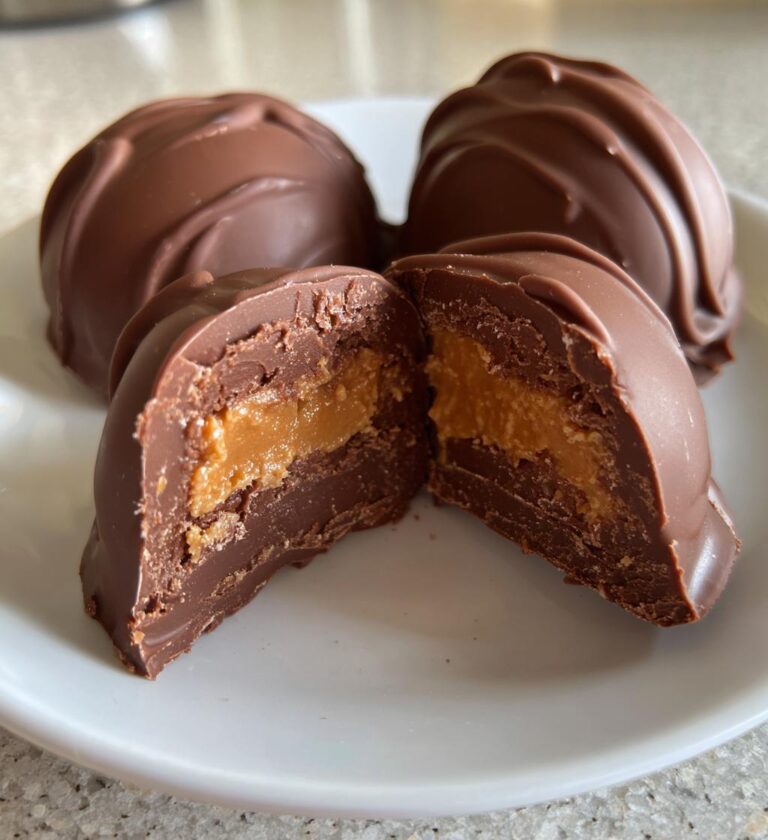
chocolate peanut butter easter eggs recipe: 5 Simple Steps
Delicious chocolate peanut butter Easter eggs.
- Total Time: 50 minutes
- Yield: 12 eggs 1x
Ingredients
- 1 cup creamy peanut butter
- 1/4 cup powdered sugar
- 2 cups milk chocolate chips
- 1 tablespoon coconut oil
Instructions
- In a bowl, mix peanut butter and powdered sugar until smooth.
- Shape mixture into egg shapes and place on a baking sheet.
- Freeze eggs for 30 minutes.
- Melt chocolate chips and coconut oil together.
- Dip each egg in the chocolate mixture.
- Place dipped eggs back on the baking sheet.
- Refrigerate until chocolate hardens.
Notes
- Store in an airtight container.
- Use dark chocolate for a richer flavor.
- Add sea salt for a sweet and salty taste.
- Prep Time: 15 minutes
- Cook Time: 5 minutes
- Category: Dessert
- Method: No-bake
- Cuisine: American
- Diet: Vegetarian
Nutrition
- Serving Size: 1 egg
- Calories: 150
- Sugar: 10g
- Sodium: 50mg
- Fat: 9g
- Saturated Fat: 3g
- Unsaturated Fat: 6g
- Trans Fat: 0g
- Carbohydrates: 15g
- Fiber: 1g
- Protein: 3g
- Cholesterol: 0mg
Keywords: chocolate peanut butter easter eggs recipe